Hi everyone!
Here's what you'll need:
- Card stock
- Decorative paper (I like to use chiyogami or washi paper)
- Thin magnets (you can use an old refrigerator magnet or buy them at an office supply or craft store)
- Laminating self-seal paper (optional)
- Xyron sticker maker or glue stick
- Ruler
- Cutting board
- Craft knife
- Bone folder
Step 1- Cut:
- Cut card stock into 1 1/8 by 3 1/4 inches
- Cut decorative paper into 1 by 1 1/2 inches
- Cut magnets 1/2 by 3/4 inches (you need 2 per bookmark)
- Cut laminated self seal paper into 2 by 4 inches (optional)
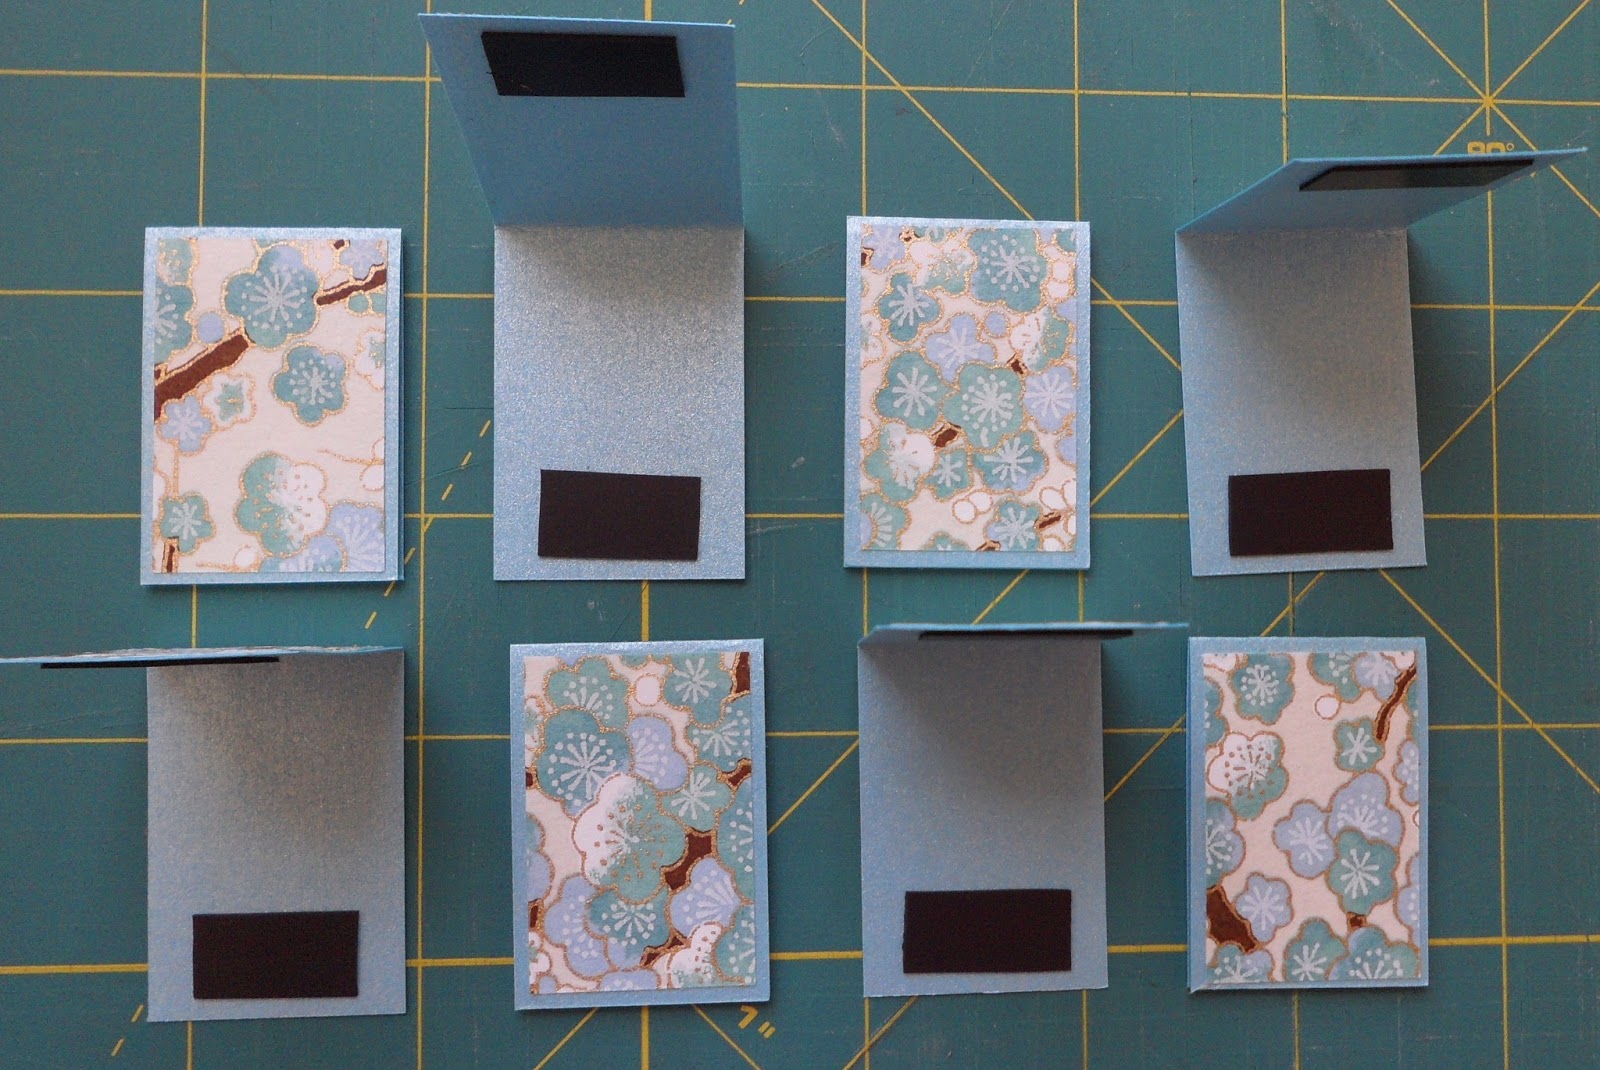
(I like to cut several sets at once, as you can see in the picture!)
- Fold card stock in half (use a bone folder to get a clean crease)
- Glue the decorative paper onto one side of the folded card stock (to add adhesive to the decorative paper use your Xyron machine or a glue stick)
- Glue the magnets to the inside of the bookmark about 1/8 of an inch from the edge (if your magnets have an adhesive backing, peel off the backing and place the magnets; if not, run them through your Xyron machine or use a glue stick)
- Peel off the backing of the laminated paper and place the front of the bookmark on the stick side of the laminated paper, leaving a little around on all sides. Then wrap the remaining portion of the laminated paper around the back of the bookmark, while the bookmark is closed.
- Open the bookmark and trim off excess lamination.
I hope you enjoyed this tutorial!
Best wishes,
Zaineb
Best wishes,
Zaineb


Great Blog Zaineb! And thanks for the magnetic bookmark tutorial. I'll definitely try this one. Khadija
ReplyDelete